
Step 1: Go to your homepage
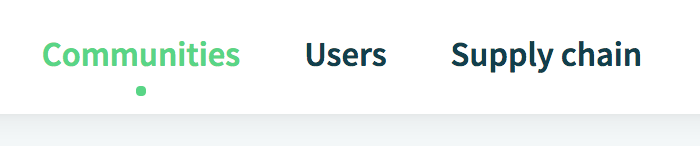
On the homepage, select the tab 'Communities'.
Step 2: Select the Community you want to edit by clicking on it
Step 3: Open the Community settings
Click on the 3 dots in the upper right corner. A new menu appears: now click on 'Community Settings'.

Step 4: Change Community folder
The Community folder defines which users and locations in your company will be made available to the Community. To change this folder, click on the 'Change Community Folder' button.
Next, click on the 'Move' button.
A pop-up window will appear in which you can select the appropriate folder.
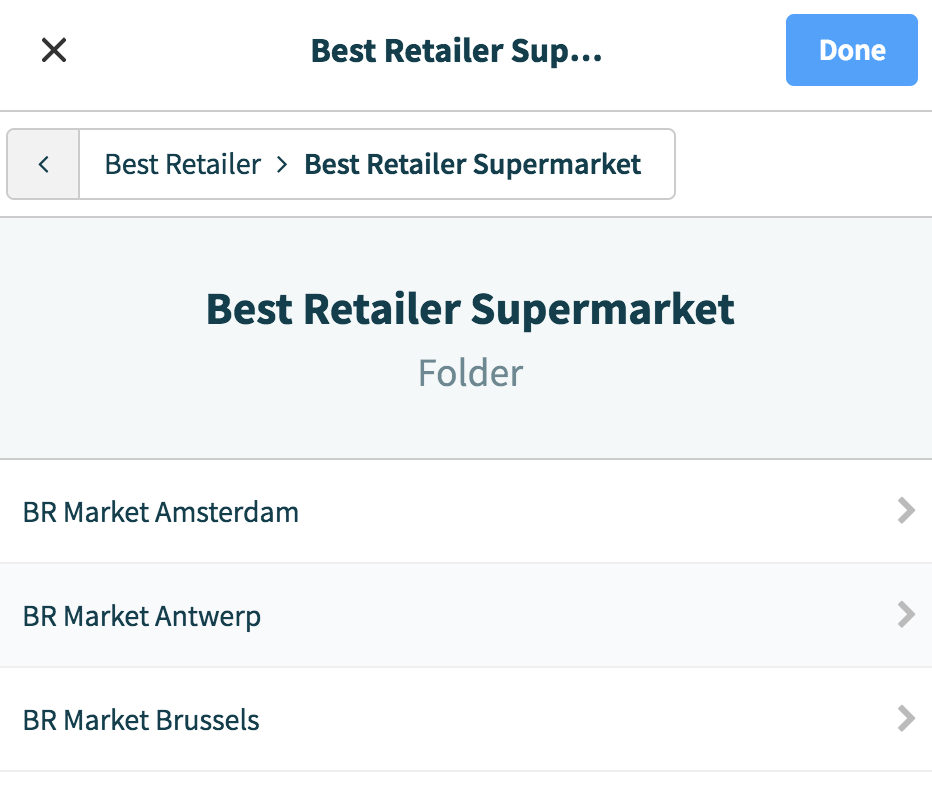
The currently selected folder is shown at the top.

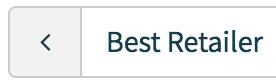
You can move upwards in the folder structure by clicking on the *parent folder* or the left arrow.
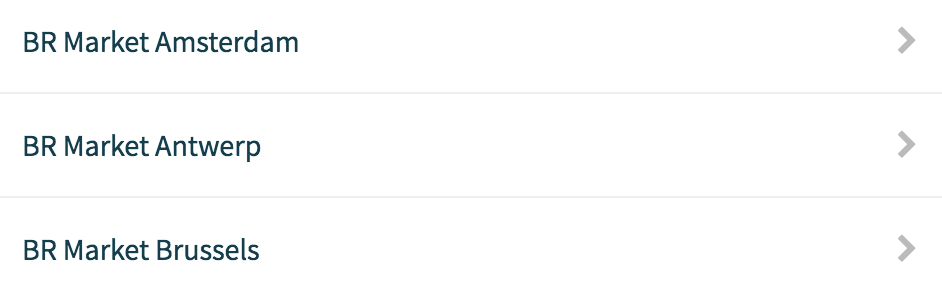
You can move downwards in the folder structure by clicking on the *child folder(s)*.
Step 5: Once you have selected the appropriate folder, click on 'Done'

To save this new folder, click on 'Save' in the upper right corner.

Comments
0 comments
Please sign in to leave a comment.