
How to draw your Supply Chain Tree
Your Supply Chain Tree will always have at least one folder. The name of that folder will automatically be your account name. If you would like to allocate your users and locations in more detail, you can always create additional folders.
Step 1: Go to 'Supply Chain'
Click on the 'Supply Chain' tab in the upper middle part of your homepage.

Step 2: Create folder(s) manually
TIP: If you have to create large amounts of folders and locations, we advise you to upload a CSV file instead of doing it manually.
A new *folder* can be created by clicking on the blue 'Add' button on the right. Please select 'Folder' from the drop-down menu.
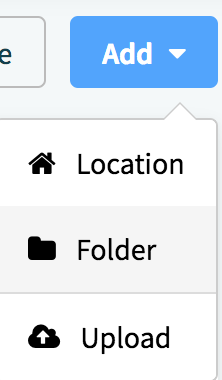
Enter the name of the folder. Make sure the folder is allocated to the right parent Folder: you can see this under the 'Belongs To' section. To change the parent folder, simply click on the 'Move' tab beside it to select another one.
The folder will automatically be allocated to the parent folder selected at the moment of creation.
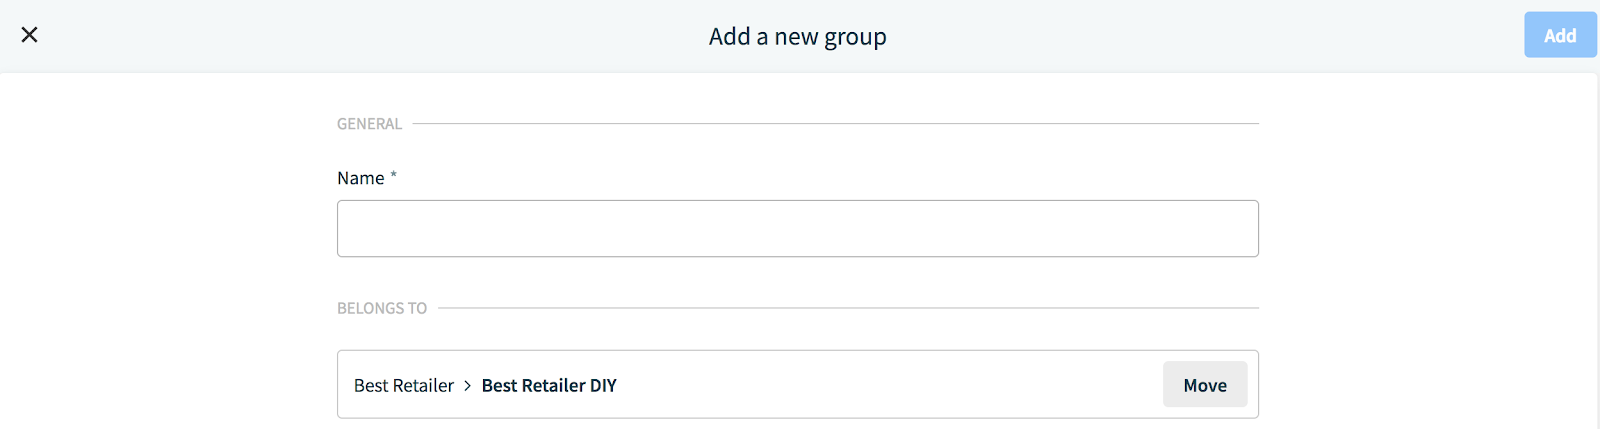
Press the 'Add' button in the top right corner to save your changes or the exit button'X' in the top left corner to discard them.
Step 3: Create location(s) manually
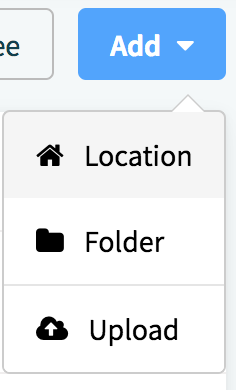
A new location can be created by clicking on the 'Add' button. Please select 'Location' from the drop-down menu.
Enter or select the following information:
- Name of the location
- Location Type
- Parent Folder
- Address
- Enable yard management
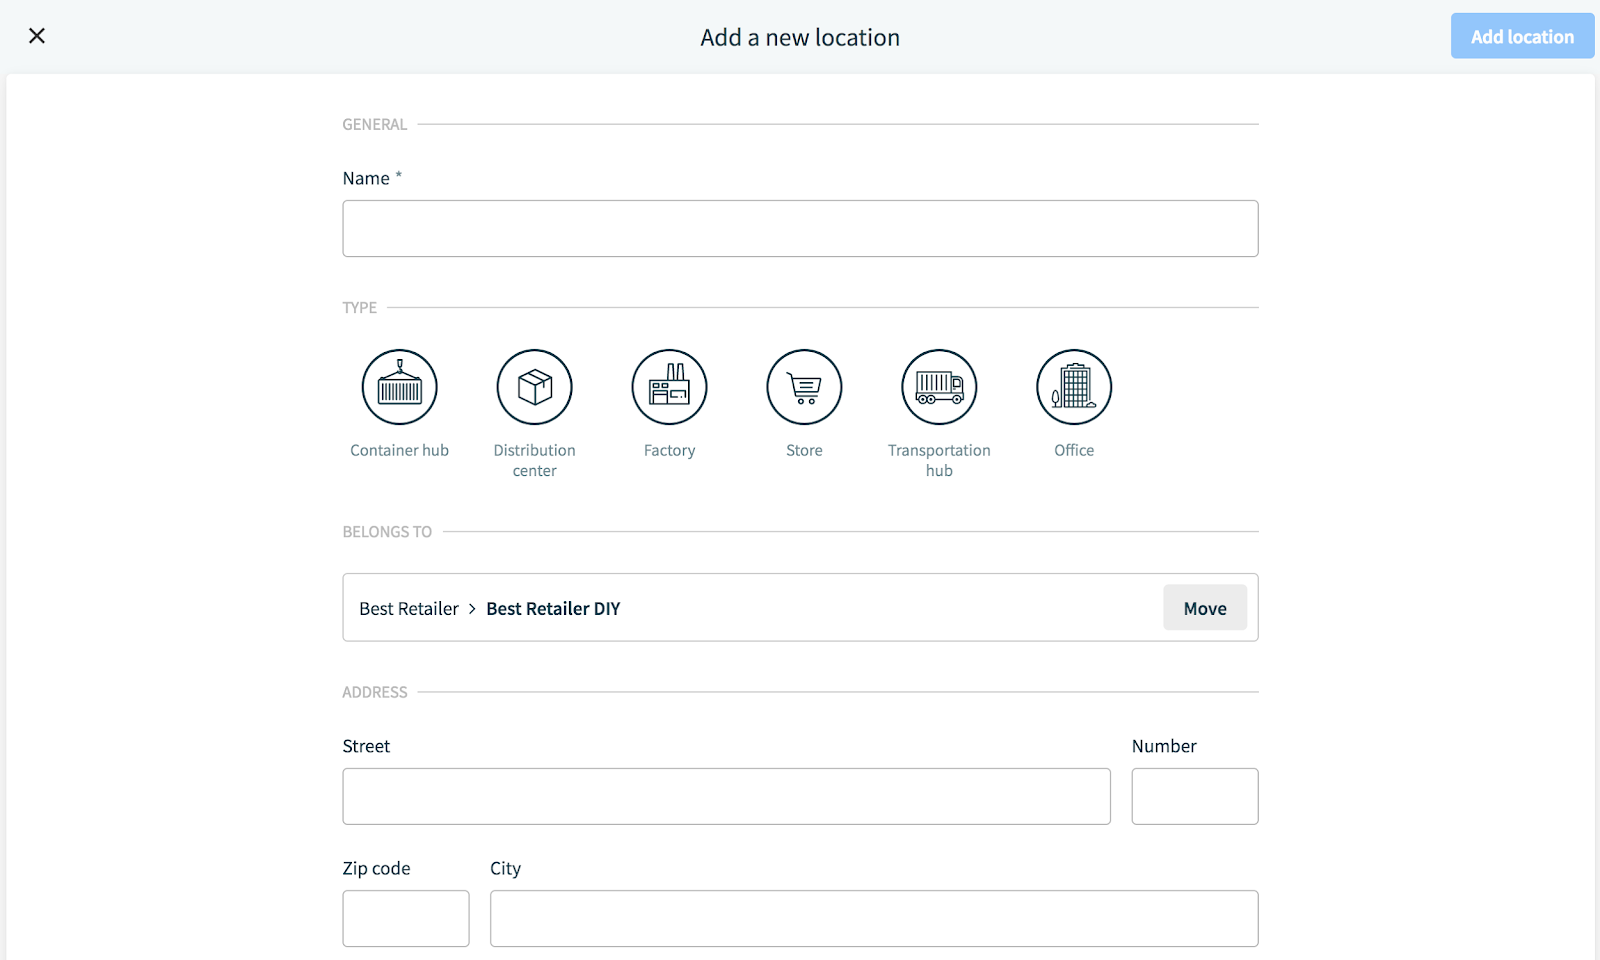
Press the 'Add' button in the top right corner to save your changes or the exit button 'X' in the top left corner to discard them.
Step 4: Allocating users
Users from your company can be managed in a separate 'Users' section. New users can be invited and allocated to the correct Folder and Location.

Comments
0 comments
Please sign in to leave a comment.